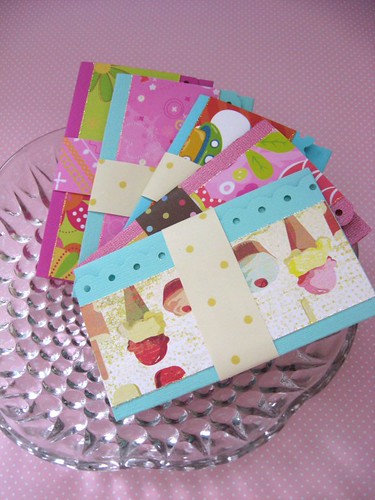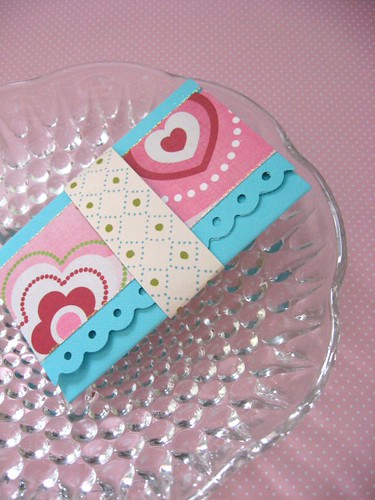
Disclaimer: PLEASE DO NOT use this tutorial to make and sell your own gift card holders. I am sharing this for personal use only and I might be very angry if I see people selling items made from this tutorial.

1. Start with a piece of 4x6" cardstock, heavy is better. I reccomend bazzill.
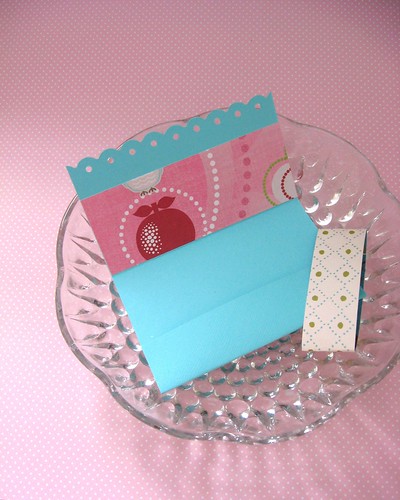
2. Punch one egde of your cardstock with an edging punch, I like to use fiskars "threading water". There are lots of nice edge punches on the market.
3. Score your cardstock at 1" and 3.5" making sure to start at the non punched edge. Fold and attach the bottom flap using strong adhesive. Glue runners do not work for this, I use glue lines. Be sure when applying adhesive that you don't get it too far into the middle or gift cards will not fit inside the flap.

4. Cut 2 1" x 4" strips of patterned paper. Adhere one to the front and one to the inside, as shown in the photos. I like to add a bit of glitter to my patterned paper edges on the front only, but this step is optional.
5. Cut one 3/4" x 6" strip of patterned or plain paper. This piece is to hold the gift card holder closed. Fold it around the holder, affixing in the back. Be sure to make it tight enough that it stays on, but keep in mind that the holder will be thicker when a card is inside so make sure to leave room for it to slide easily on and off.

6. I often like to embellish my strip with a circle and a cutout from patterned paper, a bow, or a stamped image. This is optional of course. I also often add a little embellishment to the left or right side of the inside pocket. It's really up to you!
I hope you enjoy making this project :) If you make it, be sure to share some photos with me!

No comments:
Post a Comment